Have you noticed scratches or cloudiness on your polycarbonate parts? These imperfections not only look unsightly but can also affect the material’s transparency and performance. I’ve seen many customers struggle with damaged polycarbonate surfaces that compromise their product’s aesthetics and functionality.
Polishing polycarbonate requires a systematic approach: start with fine-grit sandpaper (1000-3000 grit), progress to polishing compounds, and finish with a microfiber cloth. Use minimal pressure and keep the surface cool during polishing to prevent damage.
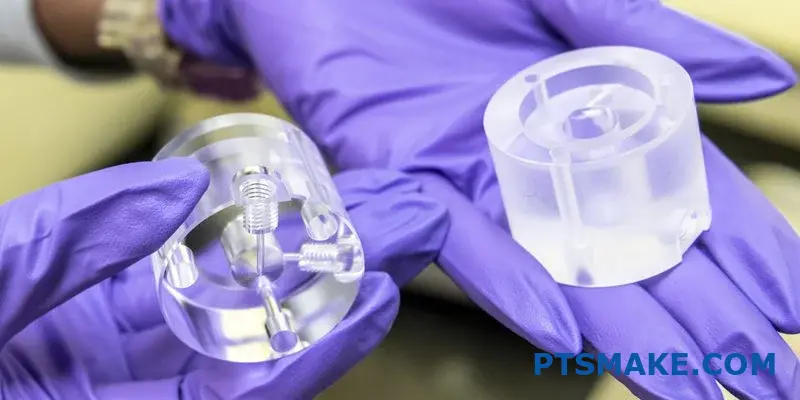
I want to share more detailed techniques that I’ve developed through working with polycarbonate parts at PTSMAKE. These methods have helped our clients restore their parts to like-new condition, saving both time and money. Let me walk you through the complete process and professional tips that will help you achieve the best results.
What Can I Use To Polish Polycarbonate?
Have you ever felt frustrated when your polycarbonate surfaces lose their clarity and shine? Whether it’s a custom enclosure, display panel, or protective screen, watching these premium materials become dull and scratched can be disheartening, especially after investing significant resources in their production.
To polish polycarbonate effectively, you can use specialized plastic polishing compounds, aluminum oxide paste, or cerium oxide. These materials, combined with microfiber cloths and proper buffing techniques, can restore the material’s original clarity and shine without damaging its surface.
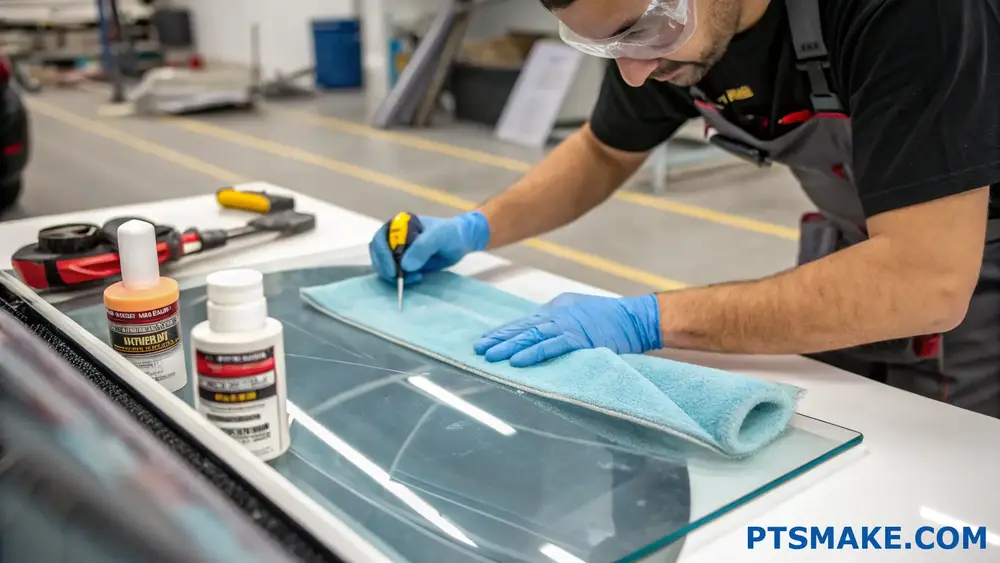
Understanding Polycarbonate Materials
Polycarbonate is a versatile thermoplastic known for its exceptional strength and optical clarity. When dealing with optical transmission rates1 in polycarbonate components, achieving and maintaining perfect clarity becomes crucial for many applications. At PTSMAKE, we frequently work with polycarbonate in our injection molding projects, and I’ve developed comprehensive methods for maintaining its pristine appearance.
Common Polishing Methods
There are several effective methods to polish polycarbonate:
Mechanical Polishing
- Uses rotating buffers with compounds
- Provides quick results
- Requires careful pressure control
Hand Polishing
- More control over the process
- Better for small areas
- Time-consuming but safer
Wet Sanding
- Gradual material removal
- Excellent for deep scratches
- Must be followed by polishing
Recommended Polishing Materials
Here’s a detailed breakdown of the most effective polishing materials:
| Polishing Material | Best Use Case | Advantages | Limitations |
|---|---|---|---|
| Aluminum Oxide | Deep scratches | Fast acting | Can be aggressive |
| Cerium Oxide | Final finish | Mirror-like shine | More expensive |
| Plastic Polish | Light scratches | Easy to use | Limited correction |
| Diamond Paste | Precision work | Professional results | Requires skill |
Step-by-Step Polishing Process
1. Surface Preparation
- Clean the surface thoroughly with mild soap and water
- Remove any debris or loose particles
- Allow the surface to dry completely
2. Initial Assessment
- Evaluate scratch depth and severity
- Choose appropriate polishing compound
- Select proper buffing tools
3. Polishing Technique
The success of polycarbonate polishing largely depends on technique:
- Start with coarser compounds for deeper scratches
- Work in small sections using circular motions
- Maintain consistent pressure
- Keep the surface and pad well-lubricated
- Progress to finer compounds gradually
4. Professional Tips
In my experience at PTSMAKE, these advanced techniques yield superior results:
- Use variable speed polishers set between 1000-2000 RPM
- Apply polishing compound in X-patterns for even distribution
- Keep the surface temperature cool to prevent damage
- Use separate pads for different compounds
- Finish with a microfiber cloth for final buffing
Common Mistakes to Avoid
Excessive Pressure
- Can cause heat buildup
- Risks surface damage
- Creates uneven results
Wrong Compound Selection
- Too aggressive compounds can scratch
- Too mild products waste time
- Incompatible materials may react
Poor Technique
- Inconsistent pressure
- Uneven coverage
- Inadequate progression through grits
Environmental Considerations
When polishing polycarbonate, consider these environmental factors:
- Work in a dust-free environment
- Maintain proper ventilation
- Use appropriate personal protective equipment
- Dispose of compounds properly
- Consider water-based alternatives when possible
Quality Control Measures
To ensure optimal results:
Regular Visual Inspection
- Check progress frequently
- Look for consistent shine
- Examine under different lighting
Surface Testing
- Verify optical clarity
- Check for residual scratches
- Confirm even finish
Documentation
- Record successful techniques
- Note compound effectiveness
- Track environmental conditions
At PTSMAKE, we implement these methods in our production processes, ensuring consistently high-quality results for our clients’ polycarbonate components. Our experience in injection molding and surface finishing allows us to maintain exceptional standards across various applications.
How To Polish Polycarbonate Effectively?
Have you ever struggled with cloudy or scratched polycarbonate surfaces that ruin the aesthetics of your project? It’s frustrating when your carefully designed parts lose their clarity and professional appearance due to surface imperfections. Almost every engineer faces this challenge at some point.
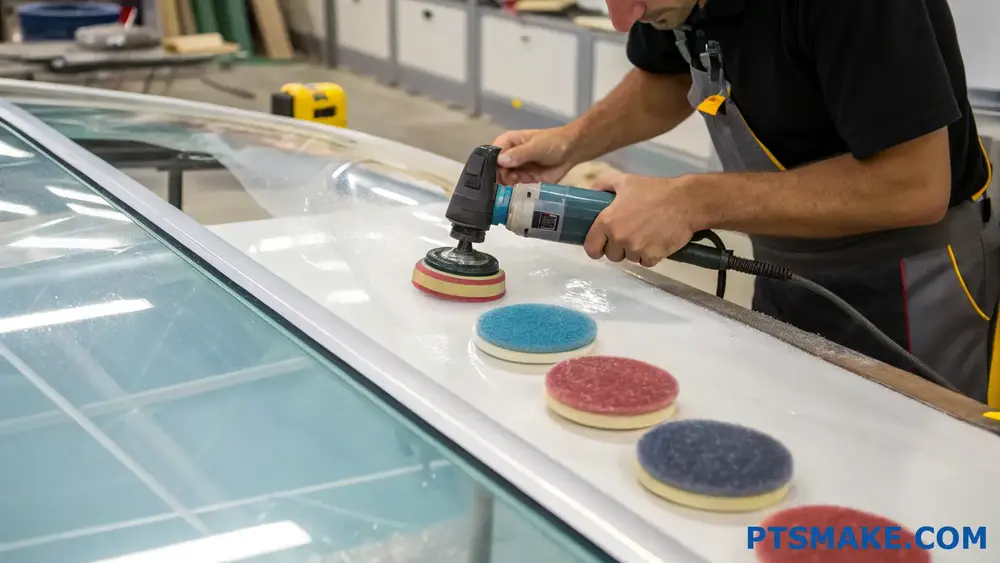
Polishing polycarbonate effectively requires a systematic approach using progressively finer abrasives, followed by specialized polishing compounds. The process typically starts with wet sanding using 400-grit sandpaper and gradually moves up to 3000-grit, finishing with a polishing compound for optimal clarity.
Understanding the Polishing Process
Surface Preparation
Before diving into polishing, proper surface preparation is crucial. The surface must be clean and free from any debris or contaminants. At PTSMAKE, we always start by thoroughly cleaning the polycarbonate surface with mild soap and water, followed by a specialized plastic cleaner to remove any oils or residues that might interfere with the polishing process.
Progressive Sanding Technique
The key to achieving a mirror-like finish lies in the progressive abrasion technique2. This methodical approach involves:
| Grit Level | Purpose | Duration |
|---|---|---|
| 400-grit | Remove deep scratches | 2-3 minutes |
| 800-grit | Smooth initial sanding marks | 2-3 minutes |
| 1200-grit | Further refinement | 2-3 minutes |
| 2000-grit | Pre-polish preparation | 2-3 minutes |
| 3000-grit | Final sanding stage | 2-3 minutes |
Advanced Polishing Methods
Machine Polishing
For larger surfaces or production quantities, machine polishing offers consistent results. I recommend using:
- Variable speed polisher (1000-3000 RPM)
- Foam polishing pads
- Water-based polishing compounds specifically designed for polycarbonate
The machine’s speed should be carefully controlled to prevent heat buildup, which can damage the polycarbonate surface. At PTSMAKE, we maintain strict temperature monitoring during machine polishing to ensure optimal results.
Hand Polishing Techniques
For smaller areas or detailed work, hand polishing remains effective:
- Use circular motions with consistent pressure
- Keep the surface wet during polishing
- Change polishing cloths frequently to prevent contamination
- Apply polishing compound sparingly
Common Challenges and Solutions
Heat Management
Polycarbonate is sensitive to heat, which can cause surface distortion. To prevent this:
- Work in shorter intervals
- Use plenty of water for cooling
- Monitor surface temperature regularly
- Reduce pressure if material feels warm
Avoiding Common Mistakes
Through my experience at PTSMAKE, I’ve identified several critical factors:
- Never skip grit levels in the progression
- Maintain consistent pressure throughout the process
- Keep the surface and tools clean between steps
- Use appropriate lighting to check progress
Professional Tools and Materials
Essential Equipment
Quality tools make a significant difference in the final result:
| Tool Category | Recommended Items | Purpose |
|---|---|---|
| Abrasives | Wet/dry sandpaper (400-3000 grit) | Progressive surface preparation |
| Polishing Tools | Electric polisher, foam pads | Mechanical polishing |
| Compounds | Plastic-specific polishing compound | Final finishing |
| Safety Equipment | Goggles, masks, gloves | Personal protection |
Material Selection
Choosing the right materials is crucial:
- Use only plastic-specific compounds
- Select non-abrasive cleaning cloths
- Employ appropriate lubricants during sanding
- Utilize proper storage solutions for materials
Quality Control and Inspection
Surface Evaluation
Regular inspection during the polishing process ensures quality:
- Use proper lighting conditions
- Check for consistency across the entire surface
- Evaluate from multiple angles
- Document progress between stages
Final Assessment
Before considering the job complete:
- Verify optical clarity
- Check for any remaining scratches
- Ensure uniform finish
- Test for proper light transmission
Environmental Considerations
Waste Management
Responsible polishing practices include:
- Proper disposal of used materials
- Collection of polishing residue
- Recycling when possible
- Minimizing water waste
Safety Measures
Maintaining a safe work environment requires:
- Adequate ventilation
- Proper personal protective equipment
- Clean workspace
- Regular tool maintenance
How To Make Polycarbonate Shiny Again?
Have you ever noticed your once-crystal-clear polycarbonate parts becoming dull and hazy over time? It’s frustrating to see expensive materials lose their optical clarity and professional appearance, especially when these components are crucial for your product’s aesthetic appeal.
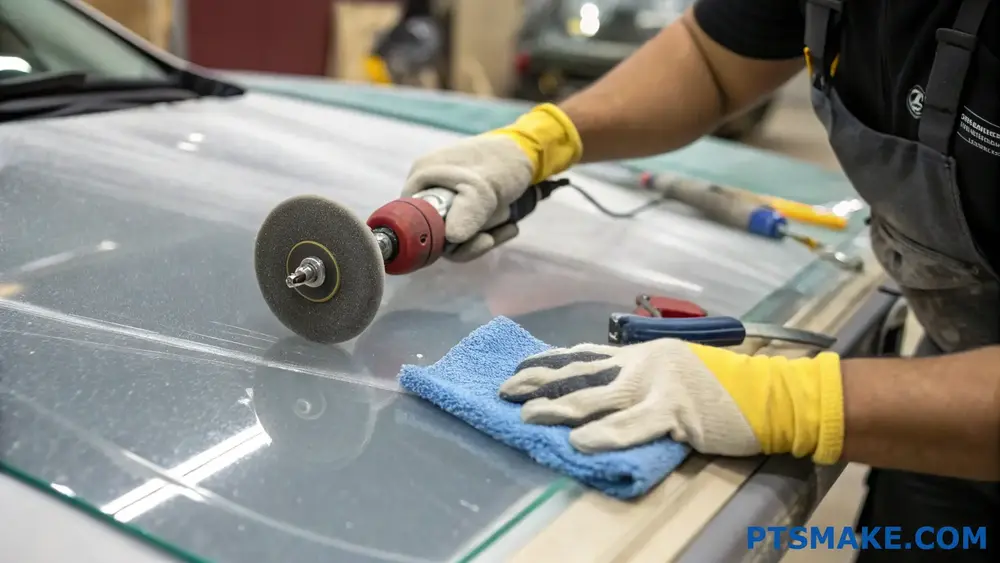
To restore polycarbonate’s shine, use a progressive polishing method starting with fine-grit sandpaper (1500-2000 grit), followed by polishing compound and a buffing wheel. This systematic approach removes surface scratches while maintaining material integrity.
Understanding Surface Degradation
The first step in restoring polycarbonate’s shine is understanding why it becomes dull. The primary causes include:
Environmental Factors
- UV exposure
- Chemical contact
- Physical abrasion
- Temperature fluctuations
These factors can cause micro-crazing3 on the surface, leading to a cloudy appearance.
Preparation Steps
Before starting the polishing process, ensure you have:
Required Tools and Materials
| Tool/Material | Purpose | Recommended Type |
|---|---|---|
| Sandpaper | Surface preparation | 1500-2000 grit |
| Polishing compound | Surface refinement | Plastic-specific compound |
| Buffing wheel | Final polish | Soft cotton or foam |
| Microfiber cloth | Cleaning | Lint-free |
| Water | Lubrication | Distilled |
Safety Equipment
| Equipment | Purpose |
|---|---|
| Safety glasses | Eye protection |
| Dust mask | Respiratory protection |
| Gloves | Hand protection |
The Polishing Process
Step 1: Surface Cleaning
- Remove any loose debris
- Clean with mild soap solution
- Dry thoroughly with microfiber cloth
Step 2: Initial Sanding
The key to successful polishing lies in proper preparation. At PTSMAKE, we’ve developed a systematic approach:
- Start with 1500-grit wet sandpaper
- Use light, circular motions
- Keep surface wet during sanding
- Check progress frequently
Step 3: Fine Sanding
Progress to 2000-grit sandpaper:
- Use consistent pressure
- Maintain wet surface
- Sand in alternating directions
- Clean surface between grits
Step 4: Polishing Compound Application
This critical stage requires attention to detail:
- Apply polishing compound sparingly
- Work in small sections
- Use medium speed on buffer
- Maintain constant movement
Step 5: Final Buffing
The final stage brings out the shine:
- Use clean buffing pad
- Light pressure
- High-speed setting
- Circular motion
Professional Tips
Based on our manufacturing experience at PTSMAKE, here are some valuable insights:
Temperature Management
- Keep surface temperature moderate
- Avoid excessive friction
- Take breaks between passes
- Use water cooling when needed
Quality Control Checks
Monitor progress through:
| Stage | Check Method | Expected Result |
|---|---|---|
| Initial | Visual inspection | Even surface |
| Mid-process | Light reflection | Reduced haziness |
| Final | Clarity test | Crystal clear |
Common Mistakes to Avoid
- Rushing the process
- Using excessive pressure
- Skipping grit levels
- Neglecting surface cleaning
- Using incorrect compounds
Maintenance After Polishing
To maintain the restored shine:
- Regular gentle cleaning
- Avoid harsh chemicals
- Use protective covers
- Handle with care
- Store properly
Industrial Applications
In industrial settings, this process is particularly valuable for:
- Display cases
- Machine guards
- Optical components
- Architectural elements
At PTSMAKE, we’ve successfully restored numerous polycarbonate components for various industries, always ensuring optimal results through our systematic approach.
Cost-Effective Solutions
Consider these factors when deciding between replacement and restoration:
| Factor | Restoration | Replacement |
|---|---|---|
| Cost | Lower | Higher |
| Time | Medium | Longer |
| Skill required | Moderate | None |
| Long-term value | Good | Excellent |
Environmental Impact
Polishing and restoring polycarbonate parts instead of replacing them:
- Reduces waste
- Saves resources
- Minimizes environmental impact
- Supports sustainability goals
What Is The Best Polish For Polycarbonate?
Have you ever stared at your polycarbonate parts, frustrated by those unsightly scratches and hazy surfaces? It’s a common challenge that can turn a perfectly engineered piece into an eyesore, potentially compromising both aesthetics and functionality.
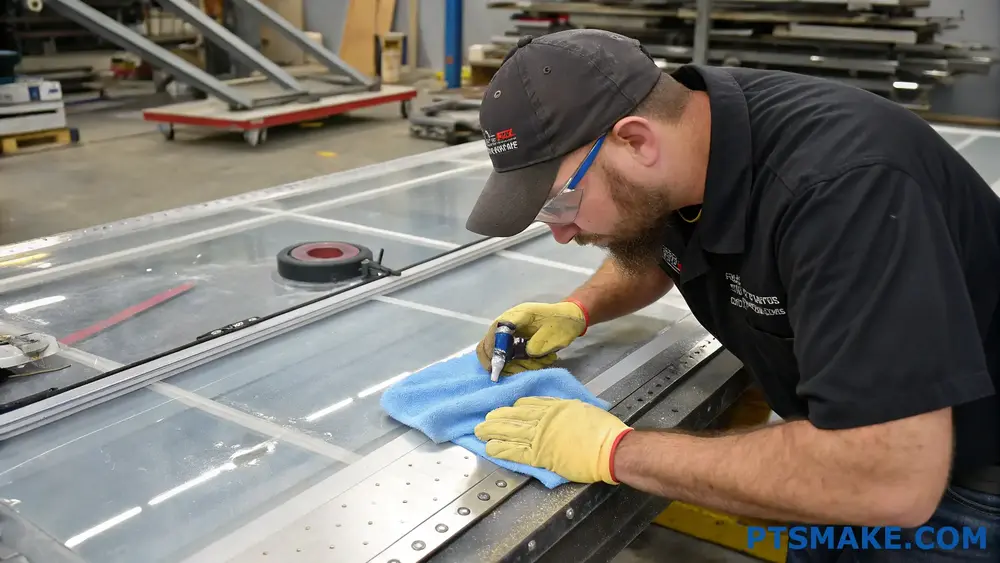
The best polish for polycarbonate is typically a specialized plastic polish containing aluminum oxide or cerium oxide compounds. These polishes, when used with microfiber cloths and proper technique, effectively restore clarity and remove surface imperfections without damaging the material.
Understanding Polycarbonate Polishing Compounds
Types of Polishing Compounds
Different polishing compounds serve various purposes in polycarbonate surface treatment. Here’s a comprehensive breakdown:
| Compound Type | Main Components | Best Use Case | Limitations |
|---|---|---|---|
| Aluminum Oxide | Fine aluminum particles | General scratch removal | May require multiple steps |
| Cerium Oxide | Rare earth compounds | Deep scratch treatment | Higher cost |
| Diamond Paste | Diamond particles | Professional finishing | Requires expertise |
| Liquid Polish | Mild abrasives | Light surface maintenance | Limited scratch removal |
The Science Behind Polishing Action
The effectiveness of polishing compounds relies on their abrasive particulate distribution4 and suspension medium. At PTSMAKE, we’ve found that compounds with uniform particle size distribution provide the most consistent results across large surface areas.
Application Techniques for Optimal Results
Manual Polishing Steps
Surface Preparation
- Clean the surface thoroughly with isopropyl alcohol
- Remove any loose debris
- Ensure the work area is dust-free
Compound Application
- Apply polish in small, circular motions
- Use moderate pressure
- Work in sections of approximately 2 square feet
Buffing Process
- Use a clean microfiber cloth
- Maintain consistent pressure
- Check progress frequently
Machine Polishing Considerations
Working with automated polishing systems requires precise control of:
- RPM settings (typically 1000-3000)
- Pressure application
- Pad selection
- Compound feed rate
Environmental Factors Affecting Polish Performance
Temperature and humidity significantly impact polishing results. I recommend:
- Working in temperatures between 65-75°F (18-24°C)
- Maintaining relative humidity below 60%
- Avoiding direct sunlight during application
Professional Grade Solutions
For industrial applications, specialized solutions offer superior results:
Advanced Polishing Systems
Professional-grade systems incorporate:
- Variable speed controls
- Multiple pad options
- Automated compound delivery
- Real-time surface monitoring
Quality Control Measures
To ensure consistent results:
- Regular surface roughness testing
- Optical clarity measurements
- Scratch resistance verification
- Impact resistance validation
Maintenance and Aftercare
Preventive Measures
To maintain polished surfaces:
- Use appropriate cleaning solutions
- Avoid abrasive cleaners
- Apply protective coatings
- Regular gentle maintenance
Long-term Protection
Implementing proper care protocols extends polish life:
- UV protective treatments
- Anti-static coatings
- Regular inspection
- Scheduled maintenance
Industry-Specific Applications
Different sectors require varying approaches:
Automotive Industry
In automotive applications, polycarbonate components need:
- High clarity retention
- Weather resistance
- UV protection
- Impact resistance
Medical Device Manufacturing
Medical grade polycarbonate requires:
- Superior optical clarity
- Chemical resistance
- Sterilization compatibility
- Scratch resistance
Consumer Electronics
For electronic devices, focus on:
- Anti-fingerprint properties
- Scratch resistance
- Optical clarity
- Impact protection
At PTSMAKE, we understand the critical nature of surface finishing in precision manufacturing. Our experience with various polishing techniques has shown that successful polycarbonate polishing requires a systematic approach, combining the right compounds with proper application methods.
The choice of polishing compound and technique should align with your specific application requirements. Whether you’re working on automotive components, medical devices, or consumer electronics, the key is to maintain consistency in your process while adapting to the unique challenges each project presents.
What Chemicals Damage Polycarbonate?
Have you ever noticed your polycarbonate parts suddenly becoming cloudy, brittle, or developing mysterious cracks? The frustration of watching high-quality polycarbonate components deteriorate due to chemical exposure can be both costly and time-consuming to resolve.
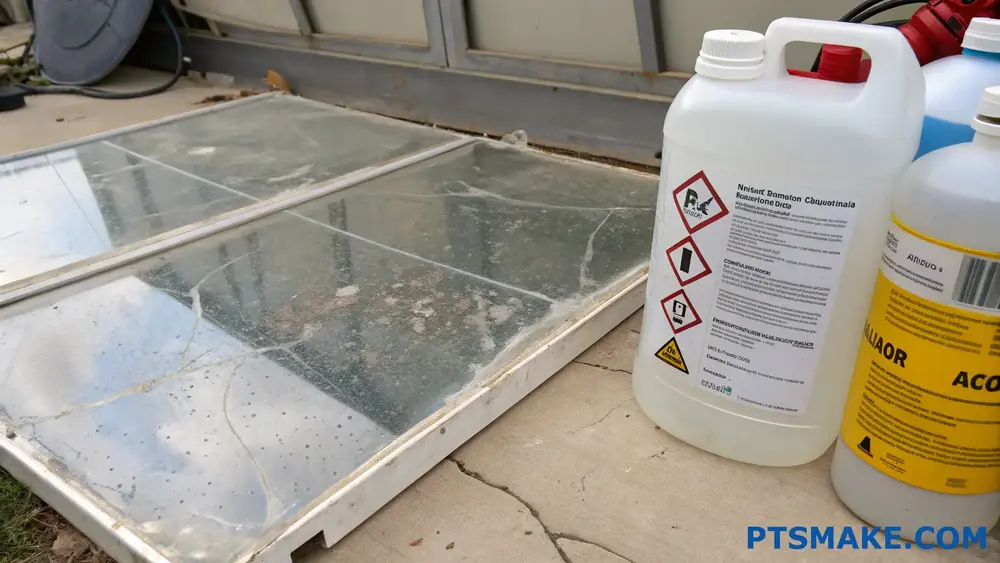
Polycarbonate can be damaged by several chemicals, including acetone, benzene, toluene, and strong acids or bases. These substances can cause crazing, cracking, discoloration, or complete dissolution of the material, significantly compromising its structural integrity and optical properties.
Common Chemical Agents That Damage Polycarbonate
Organic Solvents
The most aggressive attackers of polycarbonate are organic solvents. Through my work at PTSMAKE, I’ve observed that these chemicals can cause rapid solvolysis5 of polycarbonate materials. Common problematic solvents include:
- Acetone
- Methyl Ethyl Ketone (MEK)
- Chloroform
- Benzene
- Toluene
These solvents can dissolve polycarbonate within minutes of contact, making proper handling crucial during manufacturing and maintenance processes.
Acids and Bases
The reaction between polycarbonate and various acids or bases varies depending on concentration and exposure time:
| Chemical Type | Concentration | Effect on Polycarbonate | Time to Damage |
|---|---|---|---|
| Strong Acids | >30% | Severe degradation | Minutes to hours |
| Weak Acids | <10% | Minor surface etching | Days to weeks |
| Strong Bases | >20% | Material breakdown | Hours to days |
| Weak Bases | <5% | Surface dulling | Weeks to months |
Environmental Factors That Accelerate Chemical Damage
Temperature Effects
Higher temperatures significantly accelerate chemical reactions with polycarbonate. When working with polycarbonate parts at PTSMAKE, we maintain strict temperature controls during:
- Chemical cleaning processes
- Storage conditions
- Operating environments
- Manufacturing procedures
Stress and Chemical Exposure
The combination of mechanical stress and chemical exposure can be particularly damaging. This phenomenon, known as environmental stress cracking, occurs when:
- Internal stresses exist from manufacturing
- External loads are applied
- Chemical agents are present
- Temperature fluctuations occur
Preventive Measures and Best Practices
Material Selection Guidelines
To ensure optimal performance, consider these factors when selecting polycarbonate grades:
- Chemical resistance requirements
- Environmental exposure conditions
- Operating temperature range
- Mechanical stress levels
- UV exposure requirements
Protective Coatings and Treatments
Various surface treatments can enhance chemical resistance:
| Treatment Type | Protection Level | Application Method | Durability |
|---|---|---|---|
| Hard Coating | High | Spray/Dip | 3-5 years |
| UV Coating | Medium | Spray | 2-3 years |
| Plasma Treatment | Medium-High | Vacuum Process | 1-2 years |
Safe Cleaning Procedures
Based on our experience at PTSMAKE, we recommend these safe cleaning methods:
- Use mild soap solutions with neutral pH
- Apply gentle pressure during cleaning
- Avoid abrasive materials
- Rinse thoroughly with clean water
- Dry with soft, lint-free cloth
Industry-Specific Considerations
Medical Applications
In medical devices, chemical compatibility is crucial. Common challenges include:
- Sterilization processes
- Disinfectant exposure
- Biological fluid contact
- Cleaning agent compatibility
Automotive Applications
For automotive components, consider:
- Fuel and oil resistance
- Windshield washer fluid exposure
- Battery acid protection
- Environmental pollutant resistance
Electronics Housing
Electronic enclosures face unique challenges:
- Cleaning solvent exposure
- Flux remover compatibility
- Contact with thermal compounds
- Protection from battery leakage
Testing and Validation Methods
To ensure chemical compatibility, we employ several testing methods:
- Immersion testing
- Environmental stress crack testing
- Chemical resistance mapping
- Accelerated aging tests
Standard Test Procedures
| Test Method | Duration | Parameters Measured | Application |
|---|---|---|---|
| ASTM D543 | 7 days | Weight change, appearance | Chemical resistance |
| ASTM D1693 | 50 hours | Crack formation | Environmental stress |
| ISO 175 | 28 days | Dimensional changes | Material stability |
Documentation and Tracking
Maintaining detailed records of chemical exposure helps prevent future issues:
- Chemical exposure history
- Environmental conditions
- Stress factors
- Performance changes
- Maintenance procedures
Can You Sand Down Polycarbonate?
Have you ever struggled with scratched or rough polycarbonate surfaces that ruin the aesthetics of your project? Many engineers and designers face this frustrating challenge, unsure whether sanding could help or potentially damage their valuable polycarbonate components.
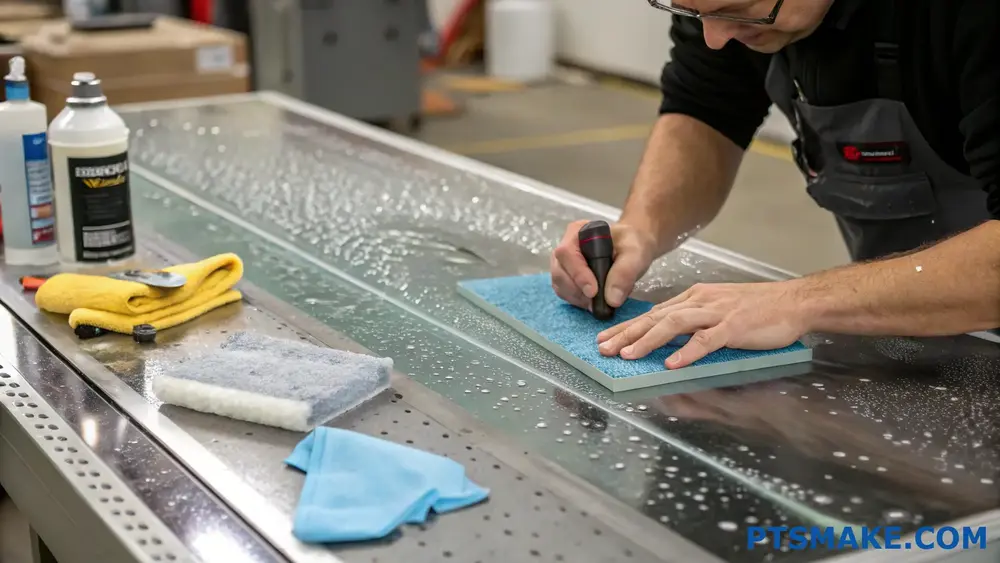
Yes, you can sand down polycarbonate safely and effectively. Using the right techniques and progressive grit sequences, from coarse to fine, you can successfully remove scratches and achieve a smooth, clear finish without damaging the material’s structural integrity.
Understanding the Basics of Polycarbonate Sanding
Sanding polycarbonate requires careful attention to detail and proper technique. The process involves using various grit levels to gradually smooth the surface while maintaining the material’s optical clarity. When working with polycarbonate, it’s essential to understand that this material has unique properties that affect how it responds to abrasive mechanical processing6.
Recommended Grit Sequence
The key to successful polycarbonate sanding lies in using the right progression of sandpaper grits:
| Grit Level | Purpose | Notes |
|---|---|---|
| 400-600 | Initial scratch removal | Use with light pressure |
| 800-1000 | Surface leveling | Wet sanding recommended |
| 1500-2000 | Fine smoothing | Keep surface wet |
| 2500-3000 | Pre-polishing | Use minimal pressure |
Essential Tools and Materials
To achieve professional results, you’ll need:
Primary Equipment
- Various grits of wet/dry sandpaper
- Rubber sanding block
- Clean microfiber cloths
- Water spray bottle
- Polishing compound
- Electric buffer (optional)
At PTSMAKE, we regularly work with polycarbonate components for various industries, and I’ve found that having the right tools makes a significant difference in the final result.
Best Practices for Sanding Polycarbonate
Temperature Control
Maintain a moderate working temperature between 65-75°F (18-24°C). Higher temperatures can cause the polycarbonate to become too pliable, while lower temperatures might make it more brittle.
Pressure Application
Apply consistent, moderate pressure during sanding. Too much pressure can create heat buildup and potentially damage the material. I recommend using about the same pressure you’d use when writing with a pencil.
Surface Preparation
Before starting:
- Clean the surface thoroughly
- Mark any deep scratches
- Secure the piece firmly
- Ensure proper ventilation
- Prepare a water source for wet sanding
Common Mistakes to Avoid
Skipping Grit Levels
Don’t be tempted to jump multiple grit levels. Each progressive step is crucial for achieving a professional finish.Dry Sanding
Always use water when sanding polycarbonate. Dry sanding generates excessive heat and can damage the material’s surface.Inconsistent Pressure
Maintain even pressure throughout the process to avoid creating low spots or uneven surfaces.
Advanced Techniques for Professional Results
Wet Sanding Method
- Keep the surface consistently wet
- Use circular motions
- Clean between grit changes
- Check progress frequently
- Maintain proper lubrication
Final Polishing
After completing the sanding sequence, use a specialized polishing compound designed for polycarbonate. At PTSMAKE, we’ve developed specific polishing techniques that ensure optimal clarity and surface finish.
Quality Control and Inspection
Visual Inspection
- Check for uniform surface texture
- Look for remaining scratches
- Examine under different lighting conditions
- Verify optical clarity
Professional Tips
- Work in a well-lit area
- Use indirect lighting to spot imperfections
- Take regular breaks to avoid fatigue
- Document the process for consistency
Environmental Considerations
When sanding polycarbonate, consider:
- Proper disposal of wet sanding residue
- Use of environmentally friendly cleaning products
- Adequate ventilation
- Water conservation during wet sanding
Industry Applications
In my experience at PTSMAKE, we’ve successfully applied these sanding techniques to various applications:
- Automotive components
- Medical device housings
- Industrial machine guards
- Electronic display covers
- Architectural installations
The key to success lies in understanding both the material properties and the specific requirements of each application.
How To Maintain Polished Polycarbonate Surfaces Long-Term?
Have you ever admired your freshly polished polycarbonate parts, only to find them scratched and cloudy within weeks? It’s frustrating when these crystal-clear surfaces lose their luster so quickly, especially after investing time and effort in achieving that perfect finish.
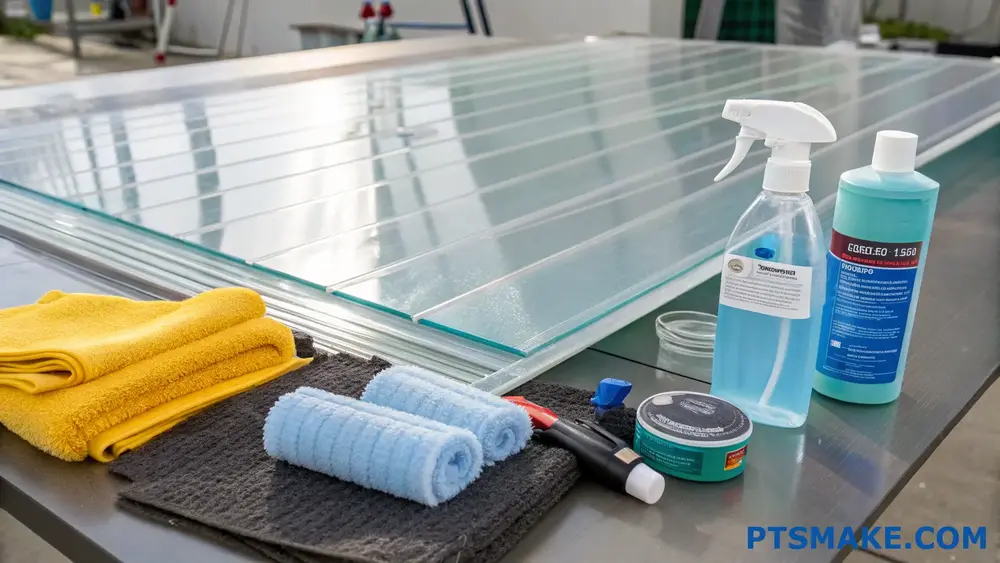
To maintain polished polycarbonate surfaces long-term, apply a protective coating, clean regularly with mild soap solutions, avoid abrasive cleaners, and protect from UV exposure. Regular inspection and gentle maintenance will preserve the surface quality for years.
Understanding Polycarbonate Surface Care
The Science Behind Surface Degradation
Polycarbonate surfaces face multiple challenges that can affect their appearance and durability. The material’s molecular structure makes it susceptible to photo-oxidation7 when exposed to environmental factors. At PTSMAKE, we’ve developed specific maintenance protocols based on extensive material testing and real-world applications.
Common Causes of Surface Deterioration
- UV radiation exposure
- Chemical interactions
- Physical abrasion
- Environmental factors
- Temperature fluctuations
Essential Maintenance Practices
Daily Cleaning Protocol
Regular cleaning is crucial for maintaining polished polycarbonate surfaces. Here’s a structured approach:
| Cleaning Step | Method | Frequency |
|---|---|---|
| Dust Removal | Soft microfiber cloth | Daily |
| Basic Cleaning | Mild soap solution | Weekly |
| Deep Cleaning | Specialized cleaners | Monthly |
| Inspection | Visual check | Weekly |
Protection Strategies
UV Protection
UV radiation is one of the biggest threats to polycarbonate surfaces. I recommend:
- Installing UV-protective films
- Using UV-resistant coatings
- Limiting direct sunlight exposure
- Regular monitoring of surface conditions
Temperature Management
Temperature control plays a vital role in surface preservation:
- Maintain consistent ambient temperature
- Avoid extreme temperature variations
- Use proper ventilation systems
- Monitor humidity levels
Advanced Maintenance Techniques
Professional Treatment Options
For optimal results, consider these professional treatments:
| Treatment Type | Benefits | Application Interval |
|---|---|---|
| Nano Coating | Enhanced scratch resistance | Every 12 months |
| UV Sealant | Protection from yellowing | Every 6 months |
| Anti-static Treatment | Dust prevention | Every 3 months |
| Surface Restoration | Repair minor damage | As needed |
Preventive Measures
Environmental Controls
Creating the right environment extends surface life:
- Control humidity levels (30-50%)
- Maintain clean air circulation
- Install proper filtration systems
- Monitor temperature fluctuations
Handling Guidelines
Proper handling prevents unnecessary damage:
- Use clean, lint-free gloves
- Avoid direct contact with sharp objects
- Store properly when not in use
- Transport with protective covers
Emergency Care and Repair
Addressing Surface Damage
When damage occurs, quick action is essential:
- Assess the extent of damage
- Clean the affected area
- Apply appropriate repair solutions
- Monitor the repair results
Professional Intervention
Know when to seek professional help:
- Deep scratches
- Chemical damage
- Structural issues
- Large-scale restoration needs
Long-term Protection Strategies
Quality Assurance Measures
| Aspect | Monitoring Frequency | Action Required |
|---|---|---|
| Surface Inspection | Weekly | Visual check and documentation |
| Coating Integrity | Monthly | Test coating effectiveness |
| UV Protection | Quarterly | Verify UV protection levels |
| Physical Condition | Bi-annually | Complete surface assessment |
Sustainable Maintenance Practices
Implementing sustainable practices ensures longevity:
- Use eco-friendly cleaning products
- Adopt preventive maintenance schedules
- Document maintenance history
- Train staff in proper handling
From my experience at PTSMAKE, successful long-term maintenance of polished polycarbonate surfaces requires a comprehensive approach. By following these guidelines and maintaining consistent care routines, you can significantly extend the life and appearance of your polycarbonate surfaces.
Remember to perform regular assessments and adjust maintenance protocols based on environmental conditions and usage patterns. This proactive approach helps prevent issues before they become significant problems, saving time and resources in the long run.
Does Polishing Polycarbonate Affect Its Impact Resistance?
Have you ever spent hours polishing polycarbonate parts to achieve that perfect glossy finish, only to wonder if all that work might compromise the material’s legendary impact strength? It’s a common concern that keeps many engineers awake at night, especially when dealing with safety-critical components.
Yes, polishing polycarbonate can affect its impact resistance if not done properly. Aggressive polishing techniques or excessive heat generation during the process can create microscopic surface defects that may reduce impact strength by up to 15%. However, when executed correctly, the impact on structural integrity is minimal.
Understanding the Relationship Between Surface Finish and Impact Strength
In my role at PTSMAKE, I’ve observed that the relationship between polishing and impact resistance is more nuanced than many realize. The key lies in understanding how surface modifications influence the material’s behavior under stress.
Surface Modification Effects
Polycarbonate’s impact resistance largely depends on its ability to distribute impact energy across its molecular structure. When we polish the surface, we’re essentially altering the material’s outermost layer, where stress concentrators8 can develop if the process isn’t carefully controlled.
Critical Factors in Polishing Process
The following factors significantly influence the final impact resistance:
| Polishing Factor | Impact on Strength | Recommended Range |
|---|---|---|
| Pressure Applied | Moderate | 2-5 PSI |
| Speed | High | 1000-1500 RPM |
| Temperature | Critical | Below 150°F |
| Grit Progression | Moderate | 400-3000 |
Best Practices for Maintaining Impact Resistance
Temperature Control
Temperature management is crucial during polishing. At PTSMAKE, we maintain strict temperature monitoring protocols because excessive heat can create internal stresses that compromise the material’s impact resistance. The polishing process should never exceed 150°F (65°C) to prevent molecular restructuring.
Proper Technique Development
- Start with coarser grits and progressively move to finer ones
- Use water-based cooling systems
- Apply consistent, moderate pressure
- Allow cooling periods between passes
Surface Inspection Methods
Regular surface inspection helps identify potential issues:
- Visual examination for crazing
- Surface roughness measurements
- Impact testing of sample pieces
- Stress pattern analysis under polarized light
The Science Behind Surface Modification
When we polish polycarbonate, several material changes occur:
Surface Layer Modification
- Removal of microscopic peaks and valleys
- Creation of uniform surface texture
- Potential introduction of surface stress
Heat-Induced Effects
- Localized molecular realignment
- Possible stress relaxation
- Risk of thermal degradation
Impact Testing Considerations
To ensure polished polycarbonate maintains its protective properties, we conduct various tests:
Standard Testing Methods
Izod Impact Testing
- Measures notched impact strength
- Provides comparative data
- Identifies potential weaknesses
Drop Ball Testing
- Simulates real-world impacts
- Evaluates surface resistance
- Determines practical protection levels
Long-term Performance Analysis
Through extensive testing at PTSMAKE, we’ve found that properly polished polycarbonate typically retains:
- 90-95% of original impact strength
- Full transparency
- Enhanced scratch resistance
Optimizing the Polishing Process
To maintain optimal impact resistance while achieving desired aesthetics:
Use Progressive Techniques
- Start with 400-grit abrasives
- Increase gradually to 3000-grit
- Apply consistent pressure throughout
Monitor Environmental Conditions
- Keep workspace temperature controlled
- Maintain proper ventilation
- Use appropriate cooling methods
Quality Control Measures
- Regular tool maintenance
- Consistent speed control
- Proper material handling
Industry Applications and Considerations
Different industries require varying levels of surface finish while maintaining impact resistance:
Automotive Industry
- High aesthetic requirements
- Critical safety standards
- Need for long-term durability
Medical Devices
- Strict cleanliness standards
- Required optical clarity
- Essential impact protection
Consumer Electronics
- Balance of aesthetics and protection
- High-volume production needs
- Cost-effective solutions
How To Remove Deep Scratches From Polycarbonate Before Polishing?
Have you ever felt frustrated when discovering deep scratches on your polycarbonate parts? It’s particularly annoying when these marks appear on high-value components, potentially compromising both aesthetics and functionality. The sight of these unsightly scratches can be truly disheartening.
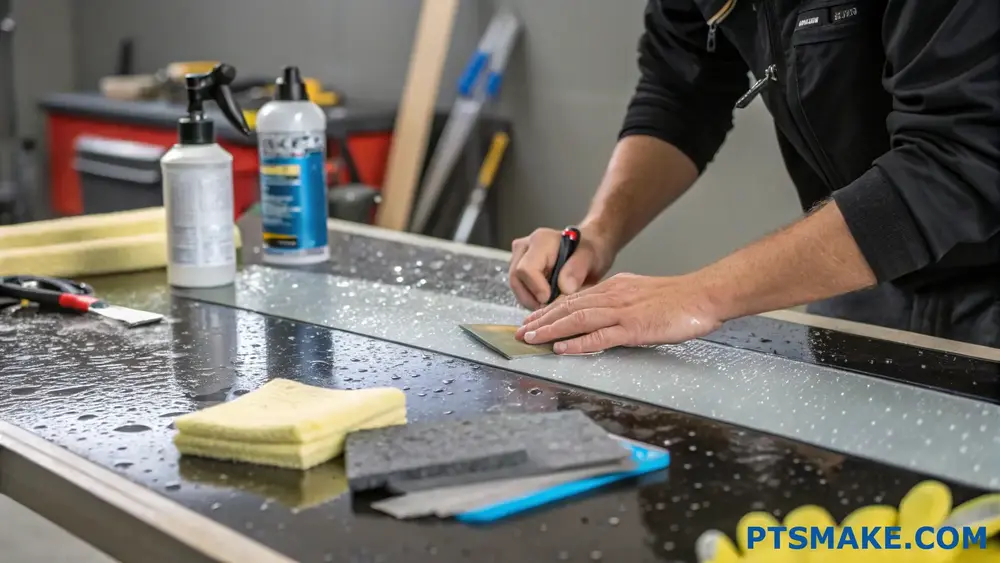
To remove deep scratches from polycarbonate before polishing, start with wet sanding using 400-grit sandpaper, gradually progress to finer grits (800, 1000, 1500), clean thoroughly between steps, and ensure the surface remains wet throughout the process to prevent additional damage.
Understanding the Nature of Deep Scratches
Deep scratches in polycarbonate require special attention due to the material’s unique properties. At PTSMAKE, we often encounter customers seeking solutions for scratched polycarbonate components. The removal process must be systematic to avoid causing more damage to the crystalline structure9 of the material.
Types of Scratches and Their Characteristics
Different scratches require different approaches:
| Scratch Type | Depth Range | Recommended Initial Grit |
|---|---|---|
| Surface | < 0.1mm | 800 |
| Medium | 0.1-0.3mm | 600 |
| Deep | > 0.3mm | 400 |
Essential Tools and Materials
Required Equipment:
- Wet/dry sandpaper (various grits)
- Soft microfiber cloths
- Clean water supply
- Rubber sanding block
- Protective gear
- Work surface padding
Optional but Recommended:
- Scratch depth gauge
- LED inspection light
- Spray bottle
- Masking tape
Step-by-Step Removal Process
1. Surface Preparation
- Clean the surface thoroughly with mild soap and water
- Dry completely with lint-free cloth
- Mark the scratch area with masking tape
- Ensure proper lighting for visibility
2. Initial Assessment
Before starting, evaluate:
- Scratch depth
- Surrounding surface condition
- Material thickness
- Working environment temperature
3. Wet Sanding Technique
The key to successful scratch removal lies in proper wet sanding technique:
Start with Coarse Grit:
- Use 400-grit for deep scratches
- Keep surface wet at all times
- Sand in straight lines, not circular motions
- Apply moderate, even pressure
Progress Through Grits:
- Move to 600-grit once initial scratch diminishes
- Continue to 800-grit for smoother finish
- Use 1000-grit for final smoothing
- Consider 1500-grit for pre-polish preparation
Critical Considerations
Temperature Management
Polycarbonate is sensitive to heat. During the sanding process:
- Take frequent breaks
- Keep material cool with water
- Check surface temperature regularly
- Avoid excessive pressure
Common Mistakes to Avoid
- Rushing through grit progression
- Using excessive pressure
- Allowing the surface to dry while sanding
- Skipping cleaning between grits
- Not maintaining consistent sanding patterns
Quality Control Measures
Visual Inspection
After each grit level:
- Use angular lighting
- Check for uniform surface texture
- Look for remaining scratch patterns
- Ensure even material removal
Surface Testing
Before proceeding to polishing:
- Verify scratch removal completeness
- Check surface smoothness
- Confirm material thickness
- Test edge integrity
Environmental Considerations
When working with polycarbonate:
- Maintain good ventilation
- Collect and dispose of sanding residue properly
- Use water responsibly
- Keep work area clean and organized
Safety Precautions
Always prioritize safety:
- Wear protective eyewear
- Use respiratory protection
- Protect hands with appropriate gloves
- Ensure proper workspace lighting
- Maintain stable work surface
Professional Insights
In my experience at PTSMAKE, successful scratch removal often depends on patience and technique rather than force. We’ve developed specialized processes for handling delicate polycarbonate components, ensuring optimal results while maintaining material integrity.
Additional Tips for Success
Work Area Setup:
- Use stable, padded surface
- Ensure good lighting
- Keep tools organized
- Maintain clean water supply
Material Handling:
- Support large pieces properly
- Avoid sharp edges
- Handle with clean hands
- Prevent contamination
Process Documentation:
- Track grit progression
- Note problem areas
- Record technique adjustments
- Document results
Final Assessment:
- Evaluate surface quality
- Check for consistency
- Verify scratch removal
- Plan polishing strategy
What Safety Precautions Are Needed When Polishing Polycarbonate?
Have you ever experienced the frustration of polishing polycarbonate only to end up with scratches or haziness? The process can be particularly challenging, and without proper safety measures, you might not only damage the material but also put yourself at risk.
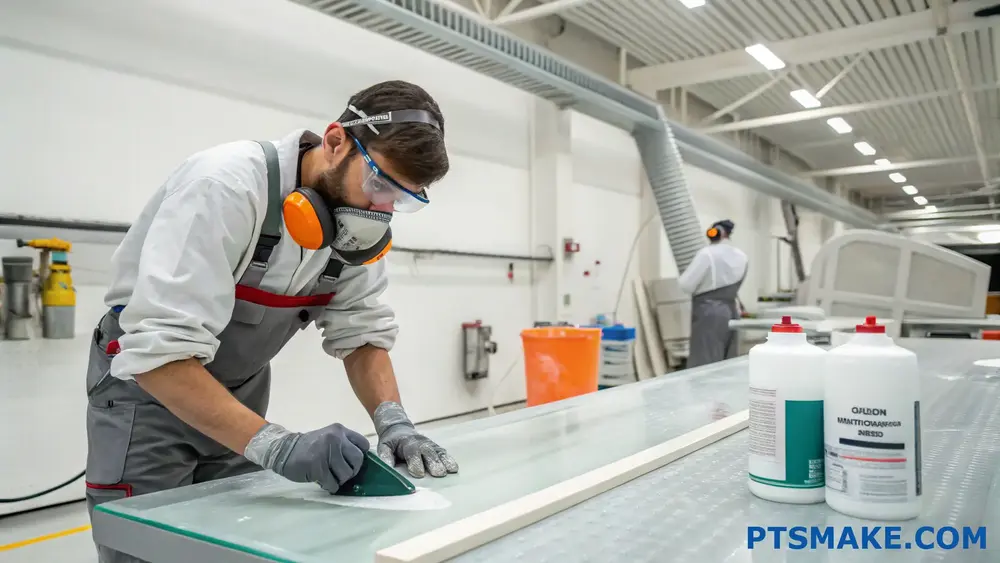
When polishing polycarbonate, essential safety precautions include wearing protective gear (safety glasses, respirator, and gloves), ensuring proper ventilation, using appropriate polishing compounds, maintaining correct speed settings, and following manufacturer guidelines for both tools and materials.
Personal Protective Equipment (PPE) Requirements
Essential Safety Gear
- Safety Glasses: Always wear impact-resistant safety glasses to protect your eyes from debris
- Respirator Mask: Use a proper-fitting respirator to prevent inhaling fine particles
- Protective Gloves: Chemical-resistant gloves protect hands from polishing compounds
- Work Clothes: Wear long sleeves and pants to protect skin from debris
Specialized Equipment for Different Polishing Stages
| Polishing Stage | Required PPE | Additional Protection |
|---|---|---|
| Rough Polishing | Heavy-duty gloves, Face shield | Arm guards |
| Fine Polishing | Chemical-resistant gloves | Apron |
| Final Buffing | Lightweight gloves | Dust mask |
Workplace Safety Considerations
Ventilation Requirements
Proper ventilation is crucial when polishing polycarbonate. At PTSMAKE, we’ve implemented a sophisticated ventilation system that removes harmful particles and maintains air quality. The system should provide at least 6 air changes per hour in the polishing area.
Workspace Organization
- Keep work area clean and free from obstacles
- Maintain proper lighting (minimum 500 lux)
- Install anti-fatigue mats for extended polishing sessions
- Store polishing compounds properly in labeled containers
Safe Operating Procedures
Speed and Pressure Control
The rotational velocity10 must be carefully monitored when polishing polycarbonate. Start with lower speeds (around 1000-1500 RPM) for rough polishing and adjust as needed for finer work.
Temperature Management
- Monitor surface temperature regularly
- Allow cooling periods between polishing stages
- Use water-based coolants when necessary
- Avoid excessive pressure that could cause heat buildup
Chemical Safety Protocols
Polishing Compound Safety
| Compound Type | Hazard Level | Storage Requirements |
|---|---|---|
| Water-based | Low | Cool, dry area |
| Solvent-based | High | Ventilated cabinet |
| Wax-based | Medium | Room temperature |
Chemical Handling Guidelines
- Read and understand all Safety Data Sheets (SDS)
- Use only compatible compounds with polycarbonate
- Store chemicals in appropriate containers
- Label all solutions clearly with contents and date
Emergency Preparedness
First Aid Requirements
- Keep first aid kit easily accessible
- Install emergency eyewash station nearby
- Post emergency contact numbers visibly
- Train workers in basic first aid procedures
Emergency Response Plan
- Establish clear evacuation routes
- Install fire extinguishers appropriate for chemical fires
- Create spill containment protocols
- Conduct regular safety drills
Tool Maintenance and Safety
Equipment Inspection
- Check polishing pads for wear before use
- Inspect power tools for damaged cords
- Verify guard mechanisms are functioning
- Ensure proper tool alignment
Safe Storage Practices
- Store tools in designated areas
- Keep polishing pads clean and dry
- Maintain organized storage systems
- Label tools requiring maintenance
Environmental Considerations
Waste Management
- Dispose of used polishing compounds properly
- Recycle polycarbonate waste when possible
- Follow local regulations for chemical disposal
- Maintain separate containers for different waste types
Sustainable Practices
In our facility at PTSMAKE, we’ve implemented sustainable polishing practices that minimize waste while maintaining high safety standards. This includes:
- Using eco-friendly polishing compounds
- Implementing water recycling systems
- Optimizing material usage
- Reducing energy consumption through efficient processes
Quality Control Safety Measures
Testing Procedures
- Verify material compatibility before starting
- Test polishing compounds on small areas
- Monitor surface quality throughout process
- Document any safety incidents or concerns
Documentation Requirements
- Maintain detailed safety logs
- Record all training sessions
- Document equipment maintenance
- Keep updated chemical inventories
Training Requirements
Worker Education
- Initial safety training
- Regular refresher courses
- Equipment-specific training
- Chemical handling certification
Compliance Monitoring
- Regular safety audits
- PPE compliance checks
- Ventilation system testing
- Emergency response drills
Click here to learn about light transmission optimization in polycarbonate materials. ↩
Click here to learn advanced techniques for achieving perfect surface clarity in polycarbonate materials. ↩
Click to learn about micro-crazing prevention techniques for optimal surface maintenance. ↩
Click to learn more about particle size distribution’s role in surface finishing quality. ↩
Click to learn more about chemical dissolution mechanisms in polymers and prevention strategies. ↩
Click to learn more about advanced polycarbonate processing techniques and industry best practices. ↩
Click to learn more about preventing UV damage in polycarbonate materials through advanced protection methods. ↩
Click to learn expert techniques for managing stress points in polycarbonate materials. ↩
Click here to learn more about polycarbonate’s molecular structure and its impact on scratch resistance. ↩
Click to learn more about optimal rotational speeds for different polycarbonate grades. ↩


